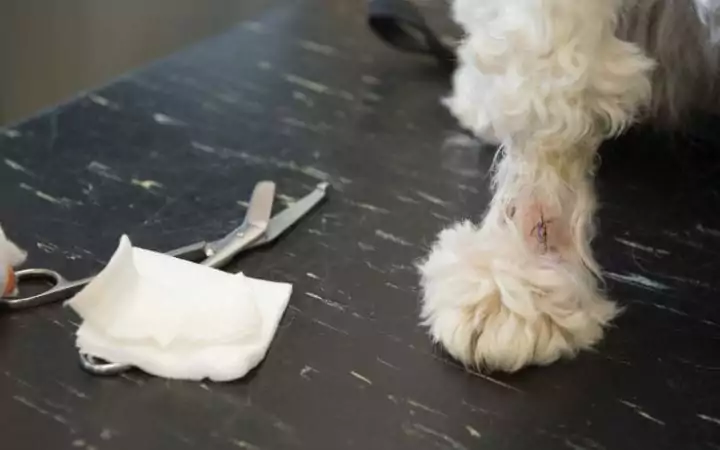
When suturing the primary goal is simple: Bring together the wound margins. However, this can be a lot more complicated when applied to real life. What type of suturing technique and what pattern or even what material? Luckily our comprehensive guide is here to help you; whether you are a veterinary student learning sutures for the first time or a professional who needs a refresher. No reason to get your sutures in a twist!
Tools for suturing
Like any person who does their work with their hands, you need the right tools. This is just as true for veterinary surgeons. So, what do you need?
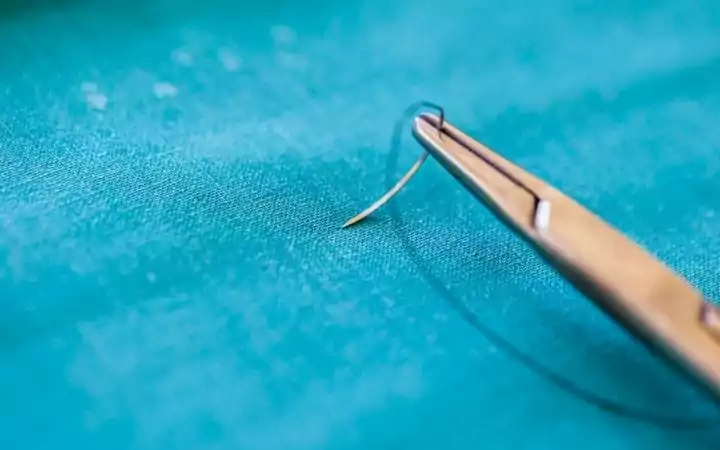
Surgical needle
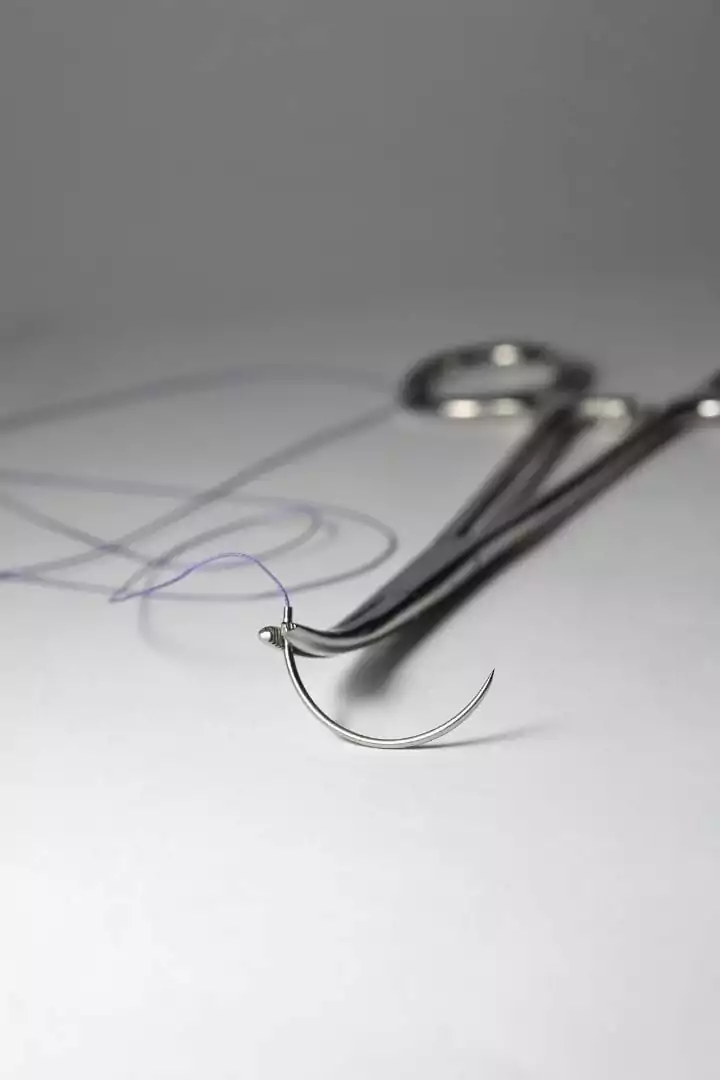
A variety of needles are available. Differing in shapes, sizes and characteristics. Most surgical needles are made of stainless steel making them strong and less likely to harbor bacteria. The needle is made up of the needle body and the needle point forming a round shape.
The needle body: Can be round, cutting or reverse cutting. With the cutting shape being the most common. It has three cutting edges, easing the penetration of tough skin.
The needle point: Can be either blunt or sharp. The blunt used for friable tissue and the sharp for tougher tissues.
The needle shape: This is varied and described as a proportion of a circle. The most common ones are ¼, ⅜ and ½ .
Suturing materials or suture thread.
Often classified according to behavior, structure and origin. What you are choosing will depend on the incision you are dealing with.
Absorbable sutures: Often used for internal soft tissue wounds. The benefit of these is that they won’t need removing as enzymes will break them down.
Non-absorbable sutures: Can generally be used for repair of any soft tissue. These will need removing, but can be stronger.
Monofilament vs. multifilament: Monofilament sutures are made of one strand. This will glide easier through the tissue, but is structurally weaker. The multifilaments come with the benefit of more strength and security. However, with an increased risk of infections.
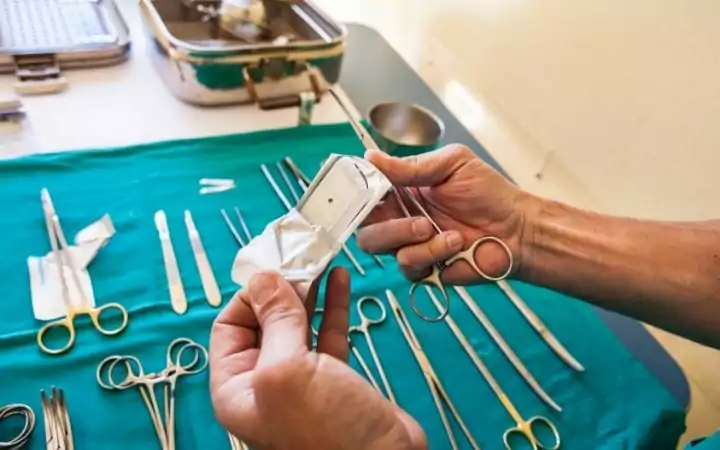
You will also need: Surgical gloves to minimise the risk of bacteria, forceps, to hold the incision folds and a needle holder to hold the needle and the suturing thread.
We found some very useful gadgets for learning on Amazon, like these suturing kits:
Suture Practice Kit

Suture Practice Kit with Suturing Guide E-Book

Suture patterns
Simple sutures
Simple interrupted sutures are the easiest sutures. These are often the most appropriate ones for wounds with close skin edges that are under no tension. The biggest advantage of them is that the interruption of one suture doesn’t affect the rest of the knots. The disadvantage is that it takes longer to make the closing.
Interrupted
The skin edge on one side of the wound is held by the forceps and the needle is inserted through the skin, exiting on the opposite skinfold. A knot is tied and placed slightly offset to the incision.
The ends of the thread are cut, leaving a bit that can be useful when the sutures need removing. The next suture should be placed roughly 5mm apart, depending on the location and the size of the wound.
Interrupted with a buried knot
The needle is inserted below the epithelium and emerges on the surface of the skin. Hereafter the needle is inserted on the other side at the opposite point of the incision and a square knot is made and the ends are cut. From above, this will look like a straight line across the incision. It is used in areas where two free strands of suture-thread will cause irritation and this type of suturing should always be done with absorbable sutures.
Subcutaneous
The needle is inserted in the deep side of the incision penetrating the tissue upwards and emerges below the skin. It is then inserted opposite and emerges below the insertion point. A knot is formed and ends cut. Absorbable sutures are needed. This pattern eliminates dead space and brings the wound a little closer together. This is to avoid tension in the skin sutures.
Continuous sutures
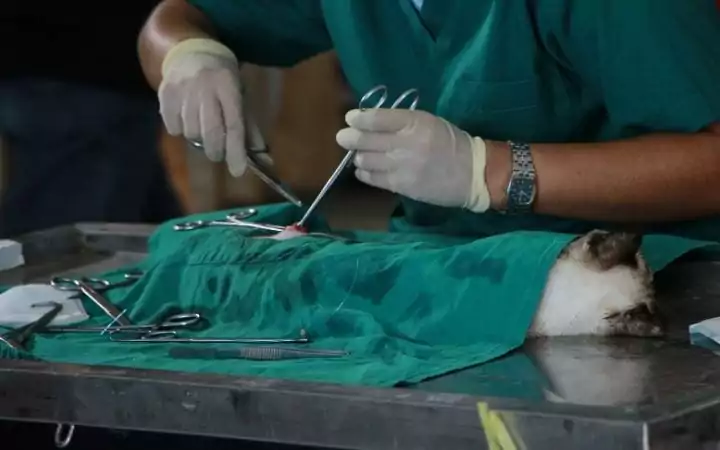
Here the suture continues between the knots made. These provide the largest tissue closeness and are more air and fluid tight. These are often used to close subcutaneous tissue. When these sutures are placed in the skin the surgeon needs to be careful. The surgeon needs to place them far enough apart, that a tightening will not cause a purse-string-like effect on the skin.
Running continues
These are started with placing an interrupted suture and knotting it. But, only the end not attached to the needle is cut. Hereafter the needle is passed through the tissue perpendicular to the incision to the end where a knot can be made.
Running interlocking
Also called the Ford interlocking pattern. It’s a modification of the running continuous. Each round through the tissue is linked to the previous through a loop made of suture material, before continuing on the next suture. This pattern provides greater stability; but, a large amount of suturing material is needed.
Sub-cuticular
This is the same general pattern as the running continuous. The needle is inserted away from the wound – about 3 mm – and just below the skin. Hereafter a running continuous suture is made along the incision, but under the skin. This is useful for subcutaneous sutures needed after neutralisation of dogs or other abdominal surgeries. Must always be with absorbable material.
Purse string
Here a continuous suture is placed around a circular wound. Starting with the needle inserted a few mm from the edge of the wound. Running sutures are placed in and around the edges of the wound. Both ends are pulled together, and you can make a knot.
Mattress sutures
Mattress sutures have the benefit of increasing the contact area of two wound sides. As well as enhances eversion (turning inside out) and brings more tissue to the closing area. One has to be careful to not tie the knots too tight though, as this can cause tissue necrosis.
Horizontal mattress sutures
Made by inserting the needle on the far side of the wound, passing it across the incision and exiting it on the near side. The needle is then inserted back into the skin, still on the near side, a few mm further down the incision. Passed through the incision to the far side where it exits the skin and a knot tied. This pattern is especially useful in areas of tension.
Vertical mattress sutures
The needle is inserted on one side of the wound. Passed through the wound and emerges at the exact opposite spot on the other side – approximately 4 mm away from the incision. Then the needle is inserted 4 mm further away from the incision line. It then mirrors the course of the needle, to the opposite side, where it started. This pattern is especially a good choice if the wish is to achieve edge eversion and closeness.
Other suturing techniques
Other techniques than the ones mentioned above could be the Halsted pattern. Another interrupted mattress pattern. The Gambee pattern. An interrupted pattern used in the intestines to lower mucosal eversion. Or perhaps even a Three-Loop Pulley suture. Used often for bringing severed tendons closer together.
One should also remember a new player on the suture field: LiquiVet, Vetglue or simply just glue. This is for tissue adhesion in small and superficial skin lacerations.
Steri-strips or skin stables are other options. Exactly as their name suggests, used for stabling the skin together. Often, it’s a handheld unit that dispenses a single stable and attaches it to the skinfolds. The benefits of this is that it is rapid and precise.
If you would like to learn more about sutures, you can get this books from Amazon:
Suture like a Surgeon

Surgical Knots and Suturing Techniques
Summary
In the end, the choice of suture needles and tools, materials and techniques, are at the discretion of the veterinary surgeon or professional assessing the wound. You will decide what’s best for your specific patient. Depending on what you wish to achieve. Be it lesser or greater tensile strength, scarring etc..
It often also has to come down to personal preferences, but hopefully the above has given you a place to start!

