The Importance of Cutting Dog Nails
How to cut dog nails–nail trimming is a common step in grooming our dogs. Long or sharp claws can be managed at home with regular nail trimming. Not all dogs need their nails trimmed. If your dog is walking on hard surfaces regularly, they will likely be worn down naturally.

Dewclaws are the nails on the inside of the foot. Some dogs will have them, and some won’t. If your dog does have dewclaws, these nails are more important to trim as they don’t come in contact with the ground and therefore won’t be worn down.
In this article, we will cover how to get your puppy used to having its nails clipped, how to cut dog nails at home, and dog nail trimmer products are available.
The Seven Day Puppy Nail Trimming Crash Course
If you plan on cutting your dog’s nails as an adult, it is beneficial to begin the process early when they are a puppy. It is also very helpful to have a pet who is comfortable with their feet being handled as this can make examinations at the vet and grooming easier for the staff.
As with all things you would like to teach your puppy, it’s essential to start slow and work up to being able to do the action. This is also true for nail trimming. A seven-day step-by-step guide follows, which shows how you can get your puppy used to having its nails trimmed.
This guide can also be used on adult dogs; if your pet takes a little bit longer than seven days, that’s ok! Take each step one by one and make sure your pet is comfortable and accepting before moving on.
Nail Trimming
Day One
Show your pet the clippers, let them look at them, and sniff them. While they are doing this, praise them and give them a calming dog treat.
Day Two
With the clippers in a closed position, press them to the nail while holding the paw. Give them a treat and praise them.
Day Three
Touch the clippers to the paw and squeeze them, don’t actually cut a nail but instead let your pet get used to the sound. Give them a treat and praise them.
Day Four
Repeat day three. If possible, repeat it on more than one foot. Again, give them a treat and praise them.
Day Five
Try trimming the tip off one nail with the clippers. Only do one nail. Give your pet a treat and praise them if they let you. If they don’t tolerate the trimming, repeat day four until they will.
Day Six
Repeat Day Five but try to trim two nails.
Day Seven
Increase the number of nails you can trim until your puppy lets you cut all the nails. Make sure your puppy is tolerating the process, and if not, go back a step. Slowly work your way around all the feet, continue handling the paws even when you don’t need to trim a nail.
The Do’s and Don’ts of Cutting Your Dog’s Nails at Home
Do’s
- Do make it a positive experience for your dog, give lots of praise and treats so that they associate nail trimming as being a good thing.
- Do go slow. Every nail doesn’t have to be trimmed at once. If your dog will just tolerate two nails, that’s ok! Do two more tomorrow and slowly work your way around.
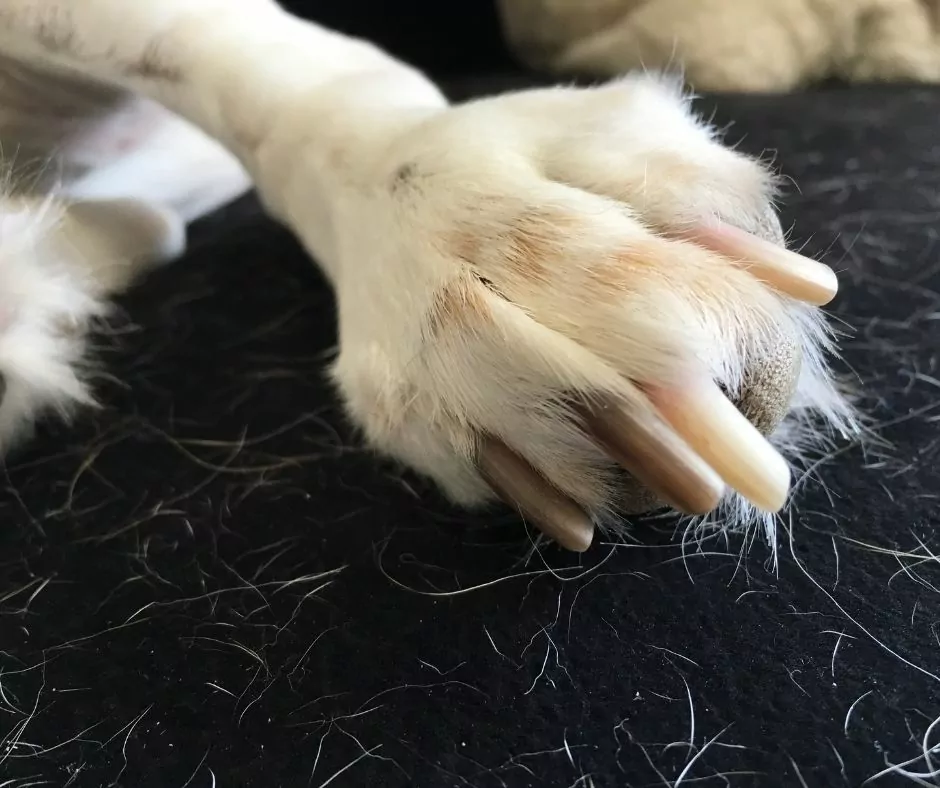
- Keep an eye on your dog’s nail length. If they are getting too long, you’ll be able to tell because when they are standing, the nail will be making contact with the ground. Long nails should be trimmed to prevent splaying of the foot.

Don’ts
- Don’t force your dog to have its nails trimmed. A dog that has to be strongly restrained will remember the experience as being negative and will be less likely to tolerate nail cutting again.
- Don’t cut too short. There is a blood vessel in the nail called the “quick” that will bleed when cut, which is painful and messy. Dog nail bleeding isn’t serious but can give you a fright and does hurt the dog, make sure to apply pressure to the nail, and if you have a styptic powder that can be applied to help stop it. Suppose you can’t see where you’re going, trim short amounts off at a time, or consider using a Dremel.
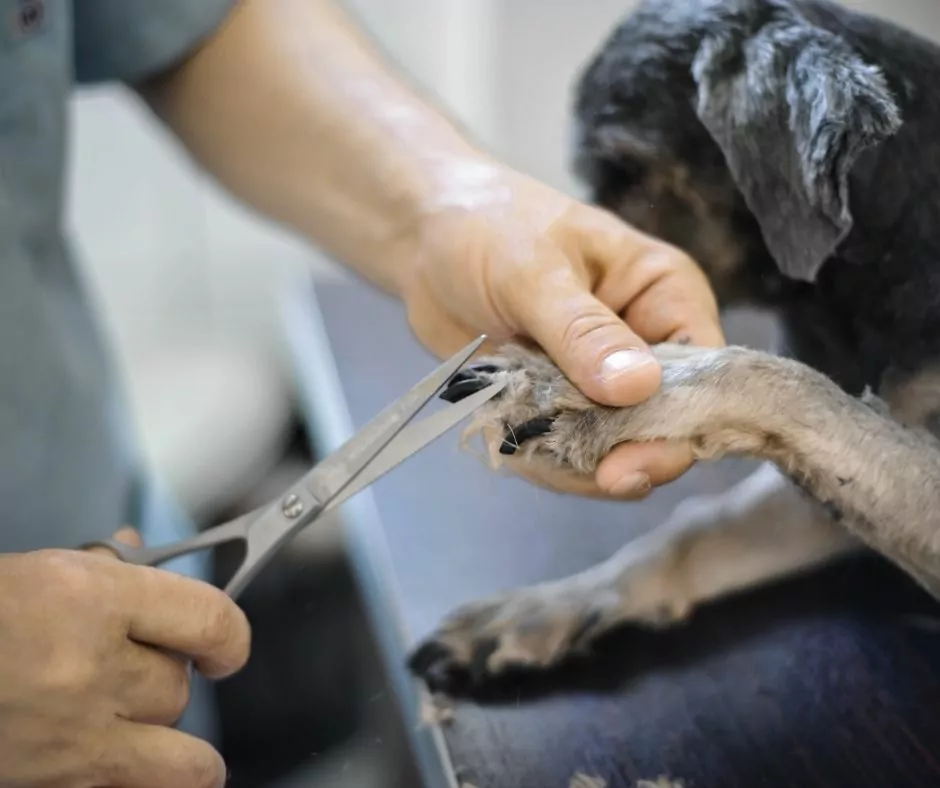
- Don’t use the wrong tools. Make sure to use trimmers designed for dog’s nails. Scissors or human nail clippers are not appropriate and will increase the chance of making a mistake.
Cutting Black Canine Nails
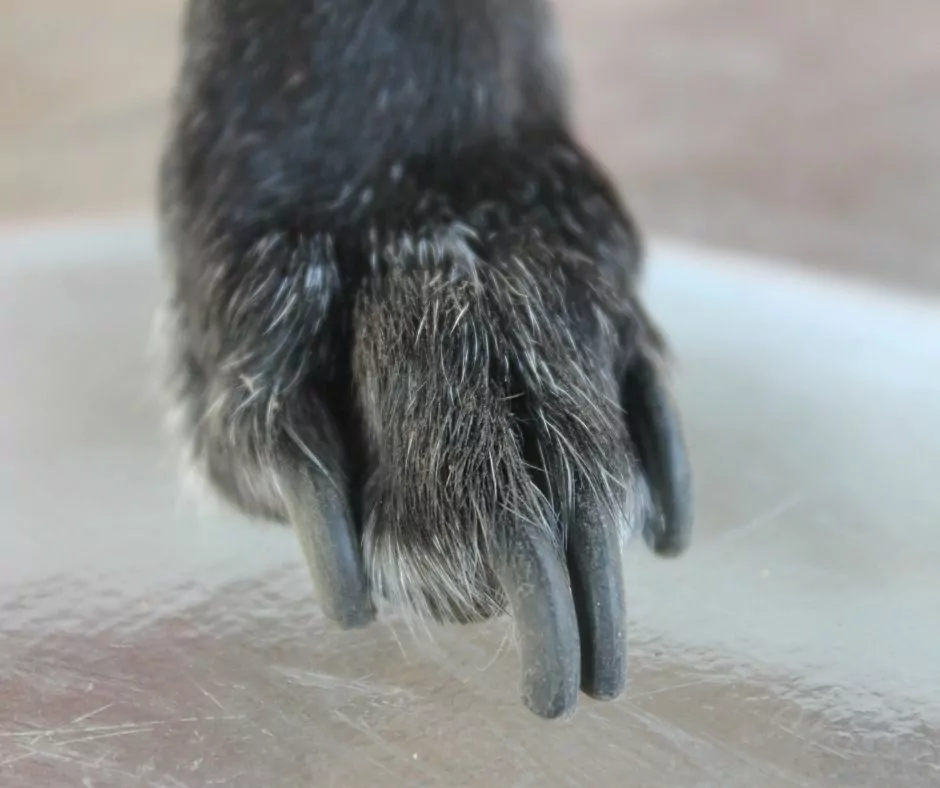
Black nails are more difficult because you can’t see through them to visualize the internal structures.

Here are some helpful tips for trimming black nails:
- Look for any clear nails to use as a guide. If there is a clear nail, observe the structures underneath and use that to estimate the length you can safely trim on the black nails.
- Go slow; take small 1mm sections at a time to make sure you aren’t going too short.
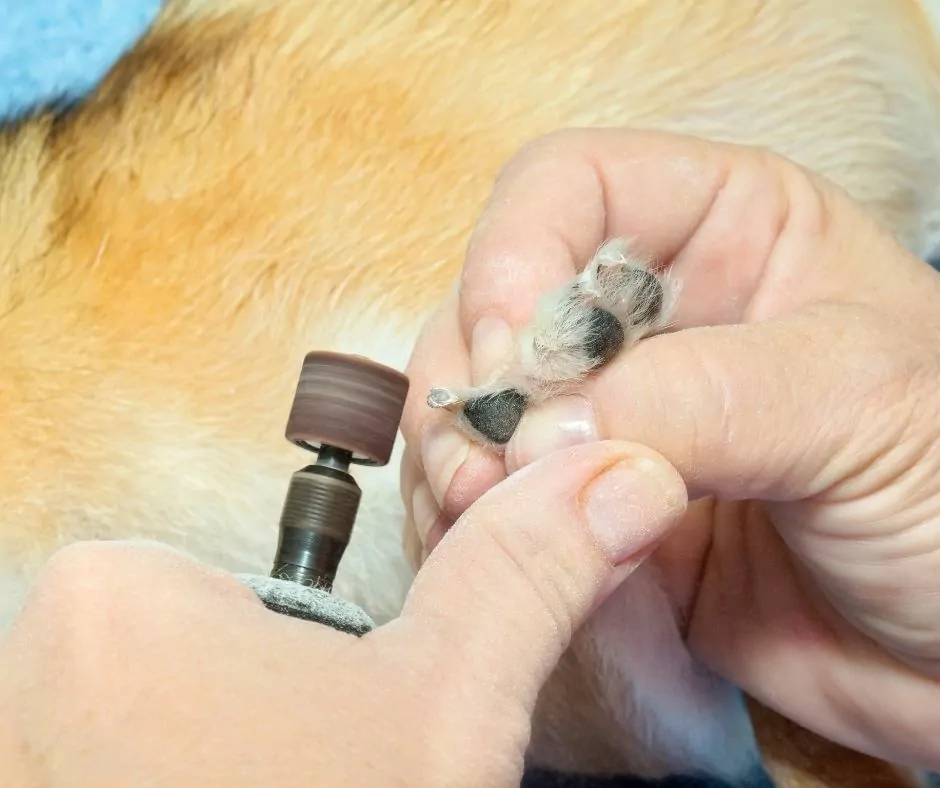
- Use a Dremel. Dremels are small pieces of sandpaper on a motorized spinning head. It spins around quickly and works to file down the nail. It is much safer than using clippers and makes it less likely for you to take too much off.
- Monitor your dog for a response. Squeezing with the clippers on the nail without cutting and applying some pressure, and if it’s too short, your dog may pull away or react, indicating that they can feel it. If you notice that, move further away from the paw with the clippers and try again to observe for a reaction.
Your Canine Nail Trimming Toolkit
Clippers: a good pair of nail clippers designed for the size of your dog’s nails are a staple in the trimming tool kit. Keeping them clean and in a dry area will keep them in good condition and prevent rusting.
Dremel: for dogs with difficult nails or in a dog that you are worried won’t sit, still, a Dremel is a much safer and easier option. It can be very slow, however, so, in long nails, you might want to start with clippers.
Replacement grinding pads: the Dremel works by having a small piece of hard, coarse material on the tip that is pressed against the nail, helping it to file down. These pads slowly become worn down and will need to be replaced to keep the product functional.
Styptic powder: this is a product that helps to stop bleeding by encouraging the blood to clot. It will often come in the sticks with the product on the end, which can be applied to a bleeding nail. It is good to have some styptic powder on hand, just in case.
Top Rated Dog Nail Clippers on Amazon
Here are some of the top-rated products on Amazon at the moment:
Shiny Pet Nail Clippers– These clippers are perfect for small dogs and puppy nails as they have a small space for the nail.
BOSHEL Dog Nail Clippers and Trimmer –These clippers are the better size for more medium-sized dogs. They have a guard to prevent nails from being cut too short, which can be helpful for beginners.
Epica #1–These clippers are big and are a good option for large dogs. They also have a safety guard as well as a spring to make cutting nails easier. There is a locking mechanism to keep them closed while you aren’t using them.
Step-by-Step Guide on Cutting Dog Nails at Home
Cutting Nails Step-by-Step
If you have never done it before, it can be helpful to be shown by someone experienced. This could be during a routine visit to your veterinarian.
Step 1. Pick up one paw and use your hand to support it with the thumb pressing against the toe pad of the nail you will be trimming. Use your forefinger above the nail to help extend the nail.
Step 2. Using your other hand, use the clipper to cut a straight line across the end of the nail. Try to visualize the move before trimming, and don’t go too short. It is better to do tiny increments at a time to prevent injury.
Step 3. Continue over all of the nails on the paw making sure to remember the dewclaw.
Step 4. Repeat on all paws. If your dog starts to get upset, stop for a while and give them a break before continuing. Remember to try and make this a positive experience with lots of treats and words of encouragement.
Grinding Nails Step-by-Step

Step 1. Pick up one paw and support the toe firmly but not tightly.
Step 2. With your other hand, turn on the grinder and place the pad against the nail at the bottom edge and slowly grind across the nail to help smooth it and shorten it.
Step 3. Continue over each nail, hold the Dremel close to the grinding surface to give better control. Make sure to remember the dewclaw.
Step 4. Continue on each foot; if your dog gets upset by the noise or feeling, go slowly and give your dog regular breaks. It may be helpful to have the Dremel turned on for a few minutes before use to get them used to the noise and placing the non-grinding end on their paw to get them used to the vibrations before you begin.
Step 5. Make sure you notice your dog’s reactions and look for signs of discomfort; try not to go too short. If your dog has long hair, keep it back from the Dremel, so it doesn’t get caught in the mechanism.
If at any point you don’t feel comfortable trimming your dog’s nails, you can pay for the service at a dog groomer or go get a Petco nail trim; most veterinary surgeries will also be able to help.
